Spring is a tricky time
for me. I’ve written about how difficult it is for me to go from winter to spring. I wrote a post about trying to create a ritual for that officially marks spring. During this time, I realized that I don’t
have any spring decorations to help me embrace spring. Well, I take that back. I have some super tacky fake flowers from my
first apartment about 15 years ago, but decided it was time to freshen up the spring
décor.
I really needed something
for the mantle. I didn’t see anything at
my regular places, but when I was at Michaels, I saw a display of laser cut
wood art with chalk paint. Inspiration
struck!
I had never really
crafted with anything other than paper and glue, so this was a bit out of my
comfort zone.
I practiced on this
little bird first since I had no idea how the paint would go on to the wood.
I learned that a little goes a long way, and the wood just soaked up the paint. I experimented with sanding it with steel wool, but it turned the bird gray.
Here is what the piece looks like without paint.
I painted the inside of
the filigree frame with 2 coats of white paint, waiting for it to dry in
between coats. I then took 320 grit sandpaper and sanded it. I didn’t think
the sanding would make a difference, but it totally did.
 |
| I felt like a bad ass going into Home Depot and getting sandpaper for the craft. Like woah. |
I was then going to
start painting the filigree blue, but when I showed my parents, my dad
suggested that I paint the inside of the curly cues a different
color. Making something that should be
fun and easy more tedious and difficult is one of my dad’s superpowers.
And at first, I was
super pissed that I listened to him. Ironically
though, this is where the most art therapy happened. I became so focused on the task at hand that
I became calm and thoughts just floated through my mind instead of getting
stuck and replayed and replayed and replayed.
I didn’t feel itchy to check my phone or do the laundry. It’s what I always hope happens when I
meditate or practice yoga (but rarely does).
Caught in this tedious,
detail-orientated work, I felt refreshed . . .
and a little guilty for being mad at my dad for suggesting doing it the
hard way.
 |
| Pro tip: Use a stiff brush so paint doesn't slosh to the outside. |
Once I did the two coats
of lavender on the inside, I was ready to do two coats of blue on the
outside. Again, be sure to use a stiff,
small, straight edge brush. I waited for
the paint to dry between the 2 coats and then sanded the next day.
I struggled with the
next part. I knew I wanted to use this
pretty blue scrapbook paper and the wooden bird. I kind of played around with the size until I
got this:
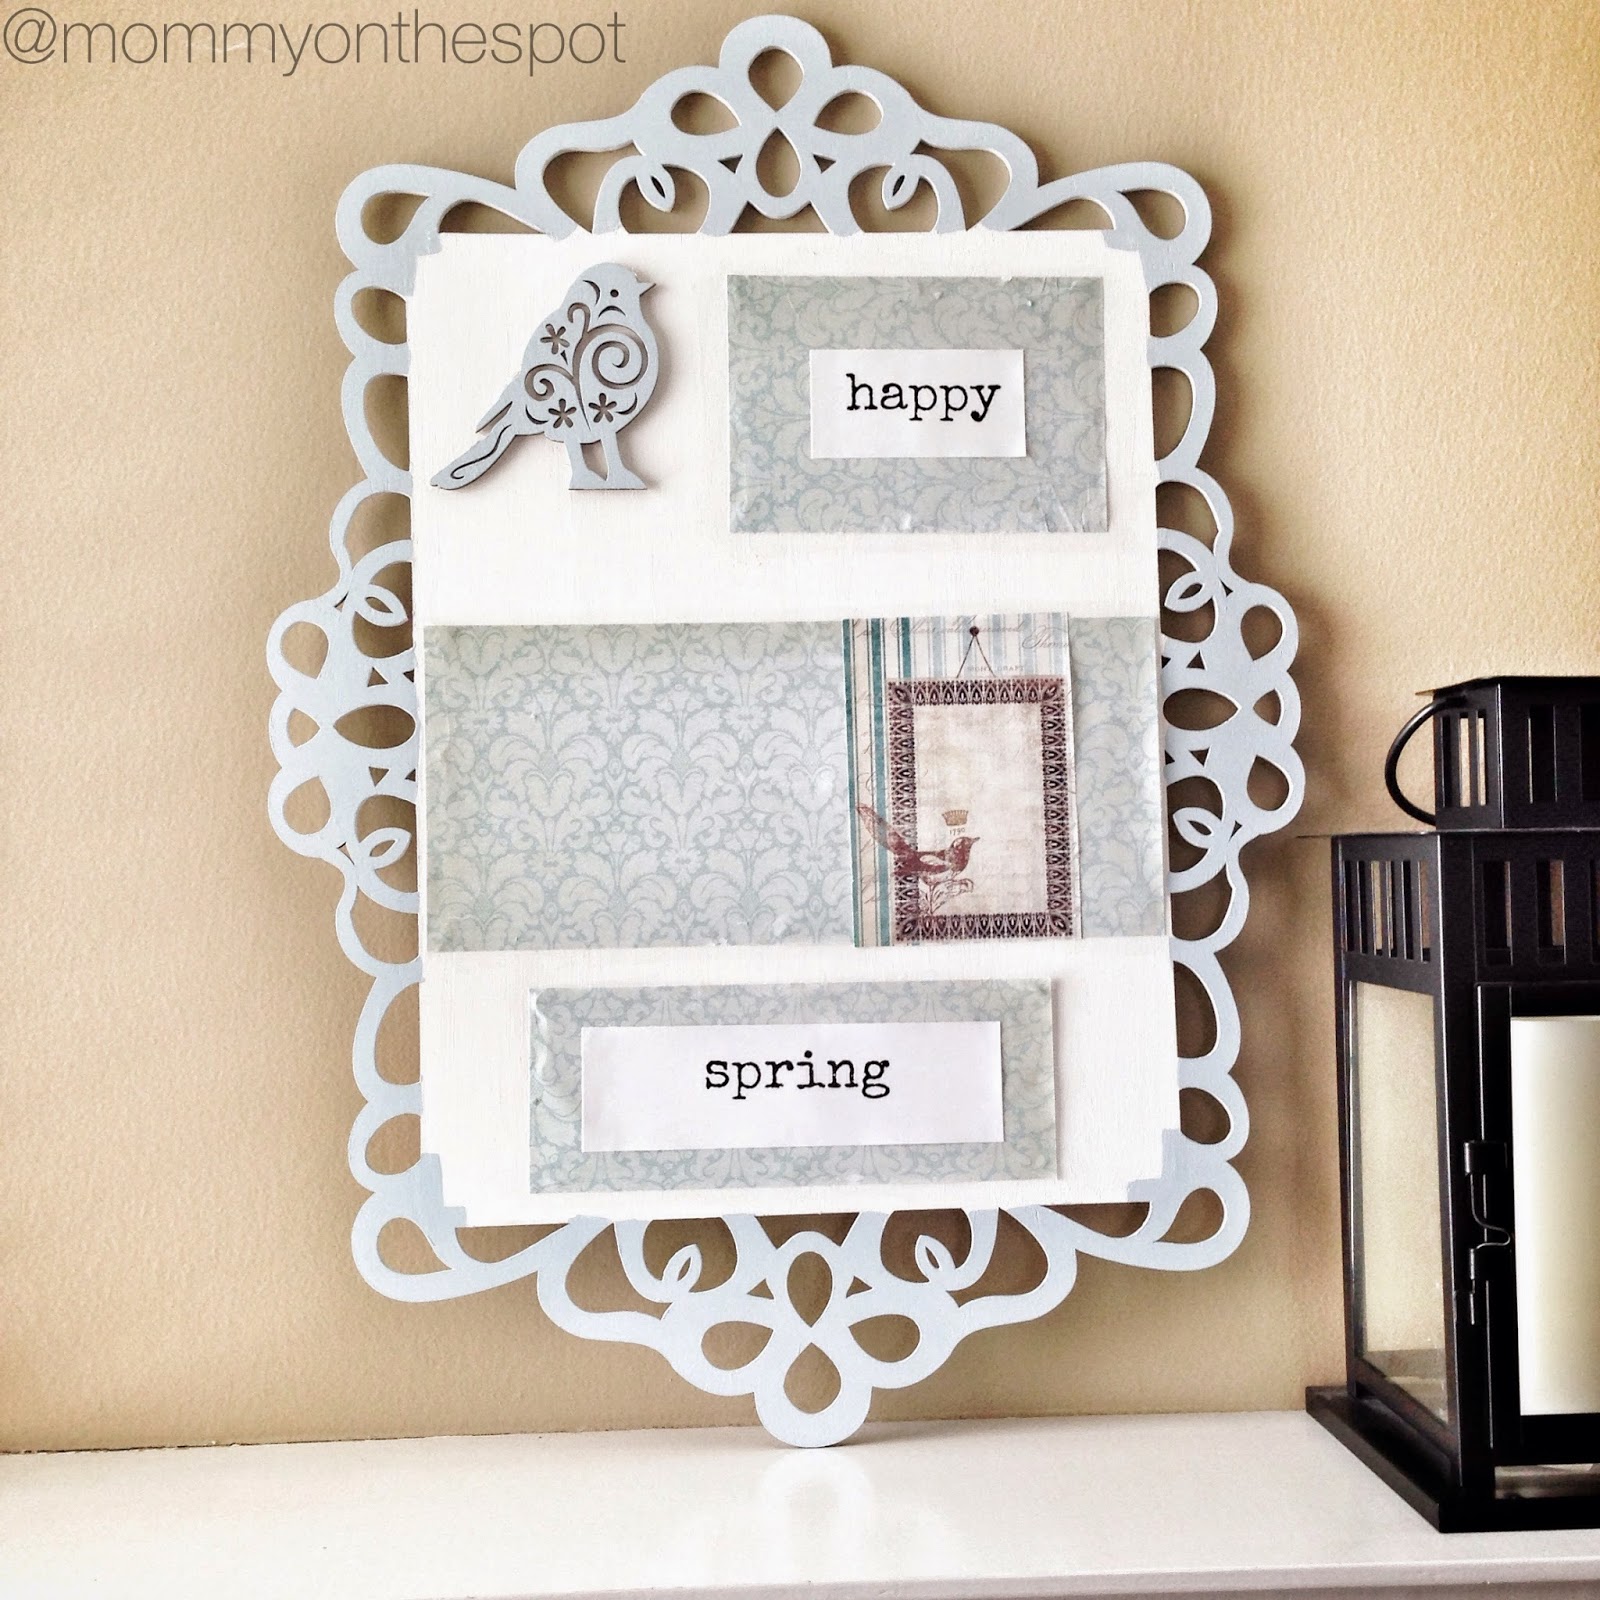
I printed “happy spring”
on white card stock and using the Special Elite font from PicMonkey. I hot glued the wooden bird, card stock, and scrapbook paper on the frame.
Then I put on two coats of matte Mod Podge on the paper. It started to wrinkle, and I began to freak out that all of this work was going to be ruined. But I gently smoothed out the paper in between coats, and there are just a few tiny bumps which give it character. And, as a recovering perfectionist, I will remind myself this as many time as I need to.
And here’s the thing
about perfectionism and art therapy – it really has helped me embrace
imperfection and enjoy the journey.
Sure, it doesn’t look professional.
But making it makes me happy.
That’s what I remember when I look at this piece. Not all the little bumps in the paper.
Have you gone out of your comfort zone lately?


No comments:
Post a Comment