Showing posts with label DIY. Show all posts

Friday, February 6, 2015

DIY Valentine’s Day Banner

I can’t believe we are already through the first week of February!  The snow days really threw off my rhythm of the week.  And because I have used January to do some introspective work, I decided to have some fun with a Valentine’s Day craft.  I love this holiday, and I decided to comb Pinterest for some inspiration for some DIY décor.

I found this banner by VickyBarone.


I loved it and used is as inspiration for my banner (since I could not replicate it exactly because her skill set is just a *tad* above mine, being a professional artist and all).

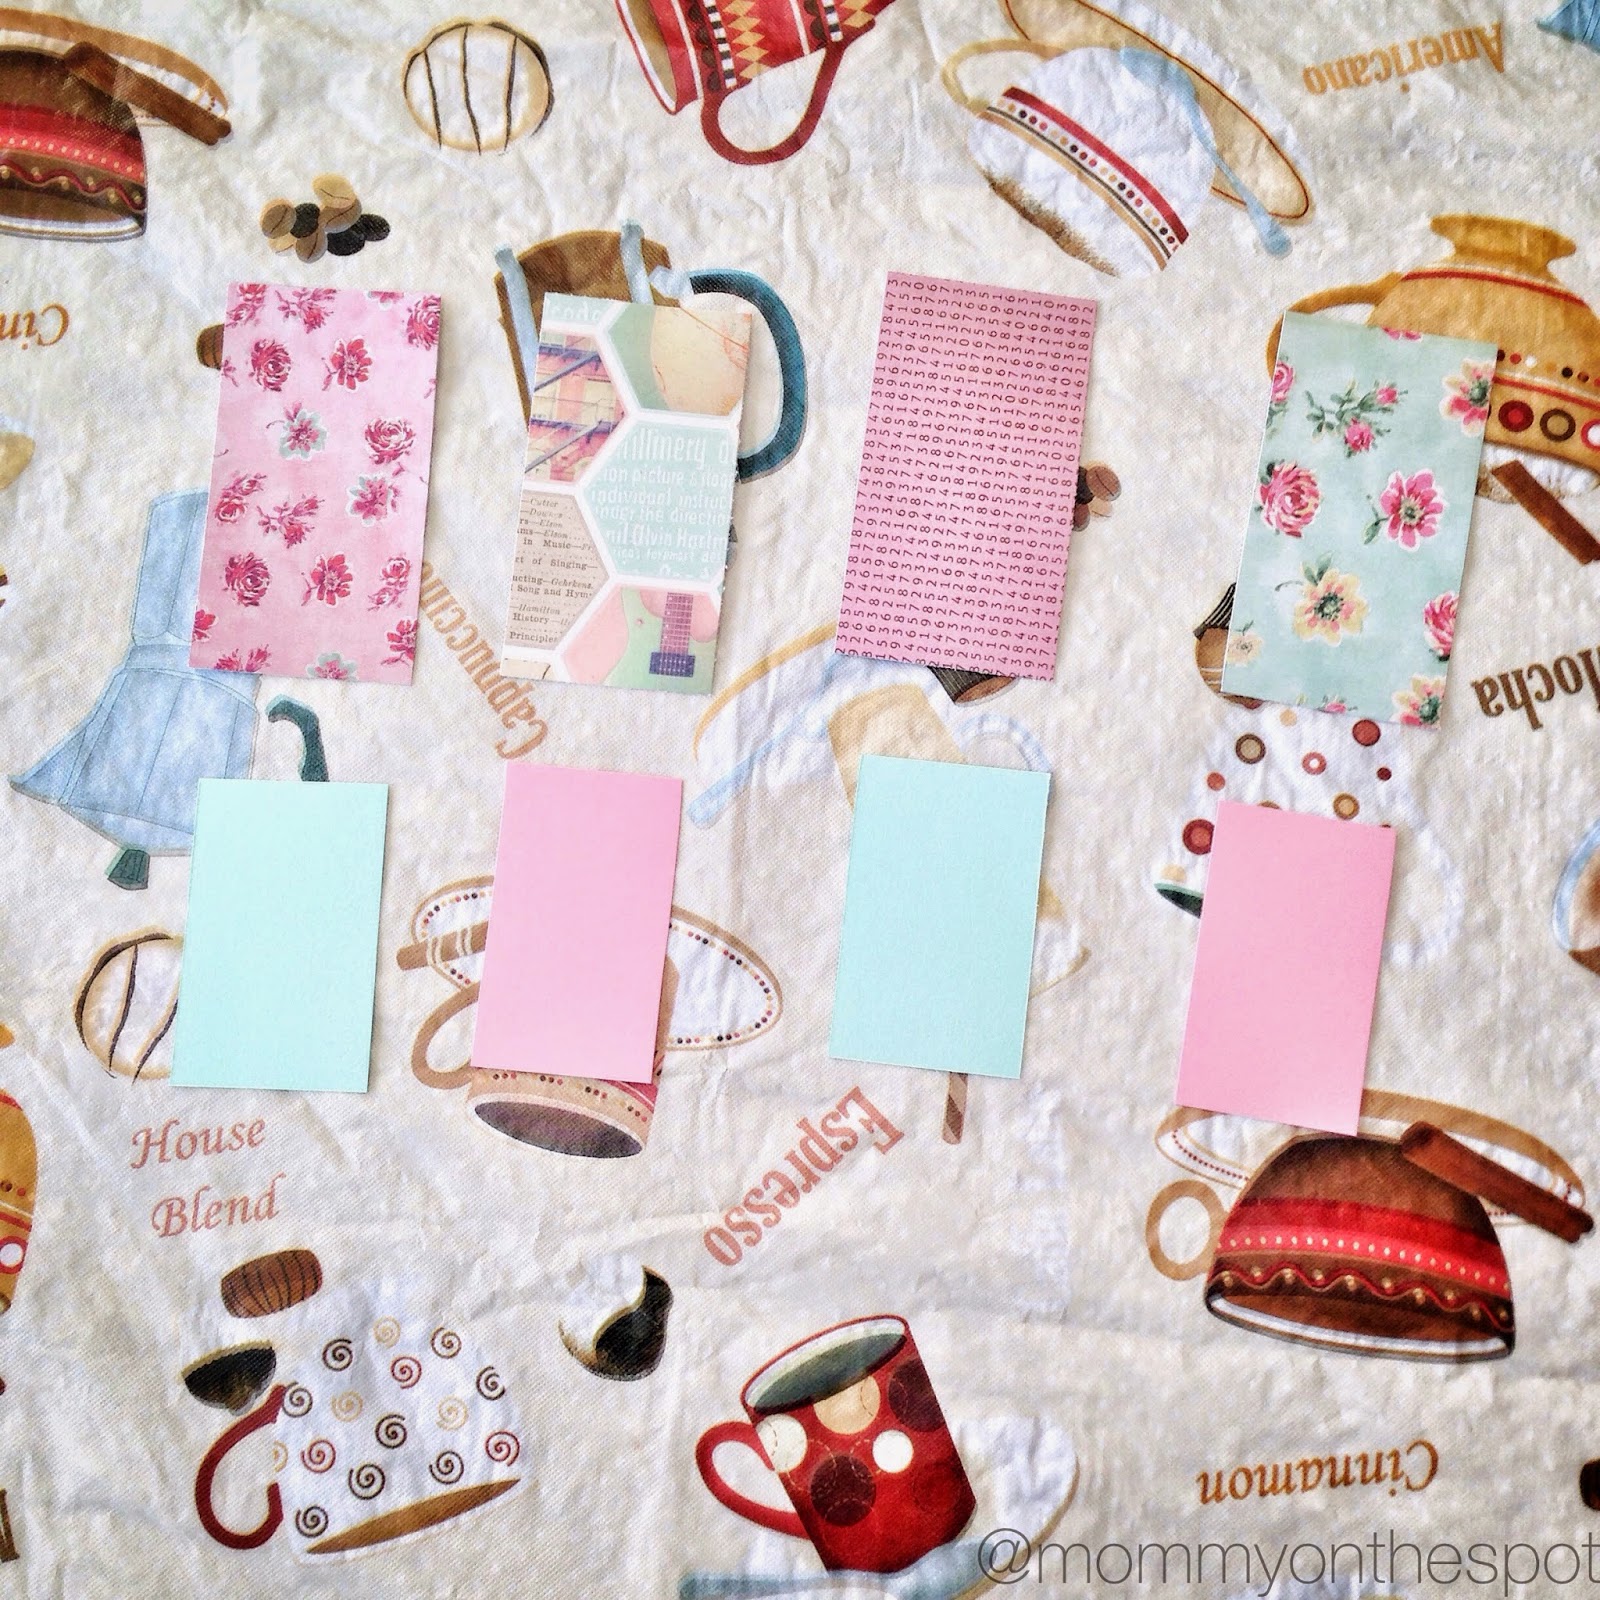
First, I cut out rectangles out of brown cardstock.  They measured approximately 2 1/2" x 5".

erin janda rawlings mommy on the spot diy valentines day banner


Then, I picked out some printed cardstock that I had from my Thanksgiving project to use as the first mat.   I made these about 2" x 3 3/4".

erin janda rawlings mommy on the spot diy valentines day banner


I found some coordinating color cardstock for the second mat. These were about 1 1/2" x 2 3/4".

erin janda rawlings mommy on the spot diy valentines day banner


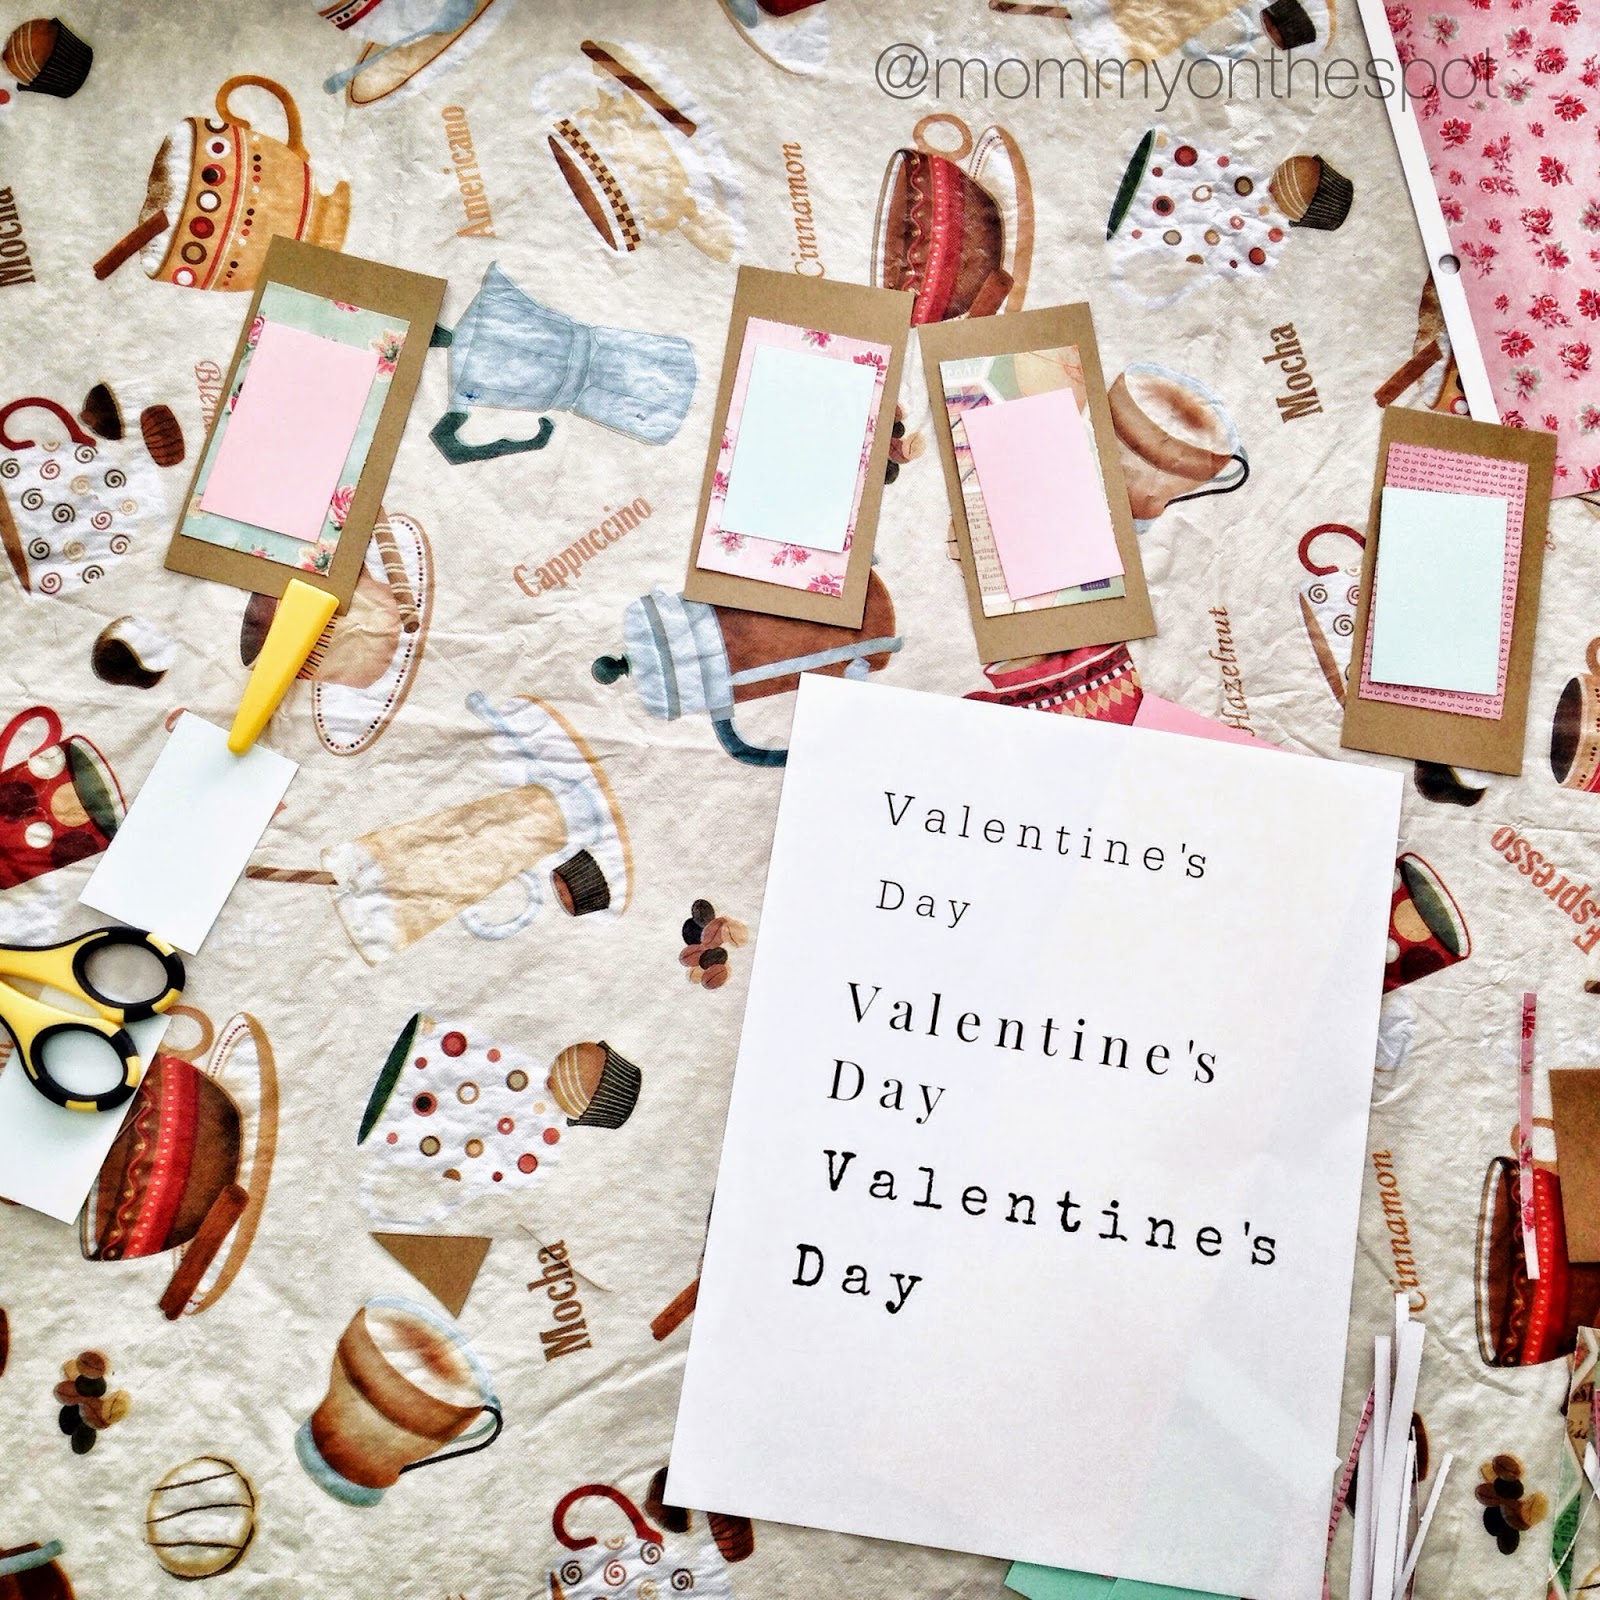
I glued the printed cardstock to the brown piece of cardstock.

erin janda rawlings mommy on the spot diy valentines day banner


I glued the coordinating cardstock to the printed cardstock.

erin janda rawlings mommy on the spot diy valentines day banner


Then I went to PicMonkey and found a font that I liked (Special Elite) and printed it out on white cardstock.

erin janda rawlings mommy on the spot diy valentines day banner


I cut the letters out into squares and stuck a double-sided sticky mounting square to add some dimension.

erin janda rawlings mommy on the spot diy valentines day banner


erin janda rawlings mommy on the spot diy valentines day banner


erin janda rawlings mommy on the spot diy valentines day banner


I cut some twine and put it on the floor so I could space out the letters.  Then I used the  gold glitter clothespins to attach the letters to the twine.

erin janda rawlings mommy on the spot diy valentines day banner


Then I hung it up.  I love how it turned out!

erin janda rawlings mommy on the spot diy valentines day banner


erin janda rawlings mommy on the spot diy valentines day banner


But I wasn’t done decorating.  I found these awesome printables from SoHo Sonnet.  You know when you print something out, and the colors turn out all meh and washed out?  These colors were *exactly* like they were on the screen, even the glittery gold color!

erin janda rawlings mommy on the spot diy valentines day soho sonnet printables


erin janda rawlings mommy on the spot diy valentines day soho sonnet printables


erin janda rawlings mommy on the spot diy valentines day soho sonnet printables


Have you done any fun (and easy!) projects lately?  Be sure to share – I would love to hear about them!


Friday, December 12, 2014

Christmas DIY Gifts: Chalkboard Paint, Shower Tablets, Sugar Scrub, and Homemade Gift Wrap

This post can also be found here on Click On Detroit, my local NBC affiliate's website.  Black Friday has come and gone, but there is still time to make these crafts!

------------------------------------------------------------------------------------------------------------

Black Friday is one of my most favorite days of the year . . .  but not for shopping.  Actually, the thought of going into a store with a competitive, crazed crowd that will stop at nothing to get their prized bargained goods is a major trigger for my anxiety.

I much rather cozy up to my Thanksgiving leftovers and start decorating for Christmas.  I also start my homemade gifts that weekend, too.  I know that DIY crafts can be a polarizing topic, but I like to dabble in crafts because using my creativity to make something from start to finish makes me incredibly happy.  Having said that, I do not look for perfection and the crafts must be easy. 

This year, I am really stepping out of my comfort zone.  I have started a passionate love affair with chalkboard paint that began with a Thanksgiving craft.  It is so easy to use!   This pin really inspired me to create these different chalkboard crafts.
 

First I took the glass out of a picture frame and painted it with two coats of chalkboard spray paint.  I did the same to the wooden frame with a jute string that I bought at craft store.  I made sure that I covered the jute with tape so the paint would not get on it.


erin janda rawlings mommy on the spot diy christmas crafts


With the wood frame, I wrote on part of the frame and then erased it with a napkin to give it a chalkboard look.  I then wrote on the frame really hard to make sure the letters were clear and blew away the extra dust. 


Then, I added some snowflakes (the only thing I kind of know how to draw).


When I was done, I sealed it with a matte spray sealant.  Be sure to hold it far away from your craft so it goes on evenly and doesn’t blow the chalk away.


erin janda rawlings mommy on the spot diy christmas crafts
I love this antique-y feeling of this frame. The real chalk gives it character.


I practiced on the glass with some regular chalk, but I didn’t like how it looked.  It didn’t give that same worn look like on the wood frame.  So I tried a chalkboard marker.  Because I had more control with a fine tipped maker, I think it looks crisp and clean.


erin janda rawlings mommy on the spot diy christmas craft


Another bonus to using a chalkboard marker: no sealant needed.  It dried instantly and does not smudge.


erin janda rawlings mommy on the spot diy christmas craft


For past Christmases, I have made sugar scrub.  I prefer using sugar instead of salt because salt will sting if you have any cuts on your hands (which is usually my case in the winter time, thank you very much, OCD).

I started with ½ cup of olive oil (although you can use any kind you choose) and ¼ cup of sugar. 


erin janda rawlings mommy on the spot diy christmas craft


I added more sugar until it became the consistency of applesauce, about 1 cup.

erin janda rawlings mommy on the spot diy christmas craft


Then I added essential oils: 15 drops of lavender, 15 drops of eucalypts, and 7 drops of spearmint.  I used Aura Cacia and Whole Foods 365 brand, but Young Living oils are excellent.


erin janda rawlings mommy on the spot diy christmas craft


I then scooped some of the mixture into a plastic container.  I love the look of a mason jar, but I don’t like to bring glass containers into the shower.

erin janda rawlings mommy on the spot diy christmas craft


Then I made a tag with some card stock.  I matted a plain white piece of cardstock to a piece of cute Christmas themed paper and tied it to the container with jute.  This way, it is easy to remove and won’t get soggy in the shower.


erin janda rawlings mommy on the spot diy christmas craft


erin janda rawlings mommy on the spot diy christmas craft


erin janda rawlings mommy on the spot diy christmas craft


I really wanted to try something new with essential oils, and I found this recipe on Pinterest for shower tabs.  I have used store-bought ones and love them!  They make the shower smell like a steam sauna!  So I had to try to make these myself.

First I took 1 cup baking soda and ½ cup of Epson salt.


erin janda rawlings mommy on the spot diy christmas craft


The directions said to use 2 teaspoons of water to get it to the consistency of wet
sand, but not feel wet.  I ended up using 3 teaspoons of water.


erin janda rawlings mommy on the spot diy christmas craft


erin janda rawlings mommy on the spot diy christmas craft


Then I added essential oils: 20 drops of lavender, 20 drops of eucalyptus, and 15 drops of spearmint.   Young Living has a great reputation for being a high quality product, but if you are mass-producing these gifts, Aura Cacia and Whole Foods 365 are fine, too.

erin janda rawlings mommy on the spot diy christmas craft


I scooped the mixture into greased muffin tins and pressed them into the pan.  They need to sit for at least 24 hours.  Trust me on this one.   I tried to take them out after a few hours and they crumbled.


erin janda rawlings mommy on the spot diy christmas craft


Now that you have these super cute DIY Christmas gifts, what better way to wrap them but in homemade wrapping paper?!  There was a time where I would not understand why anyone in the world would make wrapping paper, but after seeing homemade wrapping paper in Have Yourself a Very Vintage Christmas, I had to try!

I make it really simple by using brown craft paper, rubber stamps, and ink.


erin janda rawlings mommy on the spot diy christmas craft


I wrap the box and use the stamps to decorate the paper. 


erin janda rawlings mommy on the spot diy christmas craft


Then, I take a soft red ribbon and make a bow.


erin janda rawlings mommy on the spot diy christmas craft


To make the tag, I take a piece of cardstock and fold it in half.  Inside, I tape a piece of white cardstock and write on it.


erin janda rawlings mommy on the spot diy christmas craft


Next, I put sticker on it.  I L O V E  these Anna Griffin Twinkle Bright 3-D Stickers!  It breaks my heart that they are no longer in stock anywhere.


erin janda rawlings mommy on the spot diy christmas craft


Then, I punch a hole in the corner and use a little piece of red glitter pipe cleaner to wrap it around the ribbon.


erin janda rawlings mommy on the spot diy christmas craft


And here is the finished product.


erin janda rawlings mommy on the spot diy christmas craft


For total transparency, I do NOT wrap each present like this.  But for me, doing a little art project like this is like therapy.


How do you like to spend Black Friday?  Do you like to do DIY Christmas crafts?